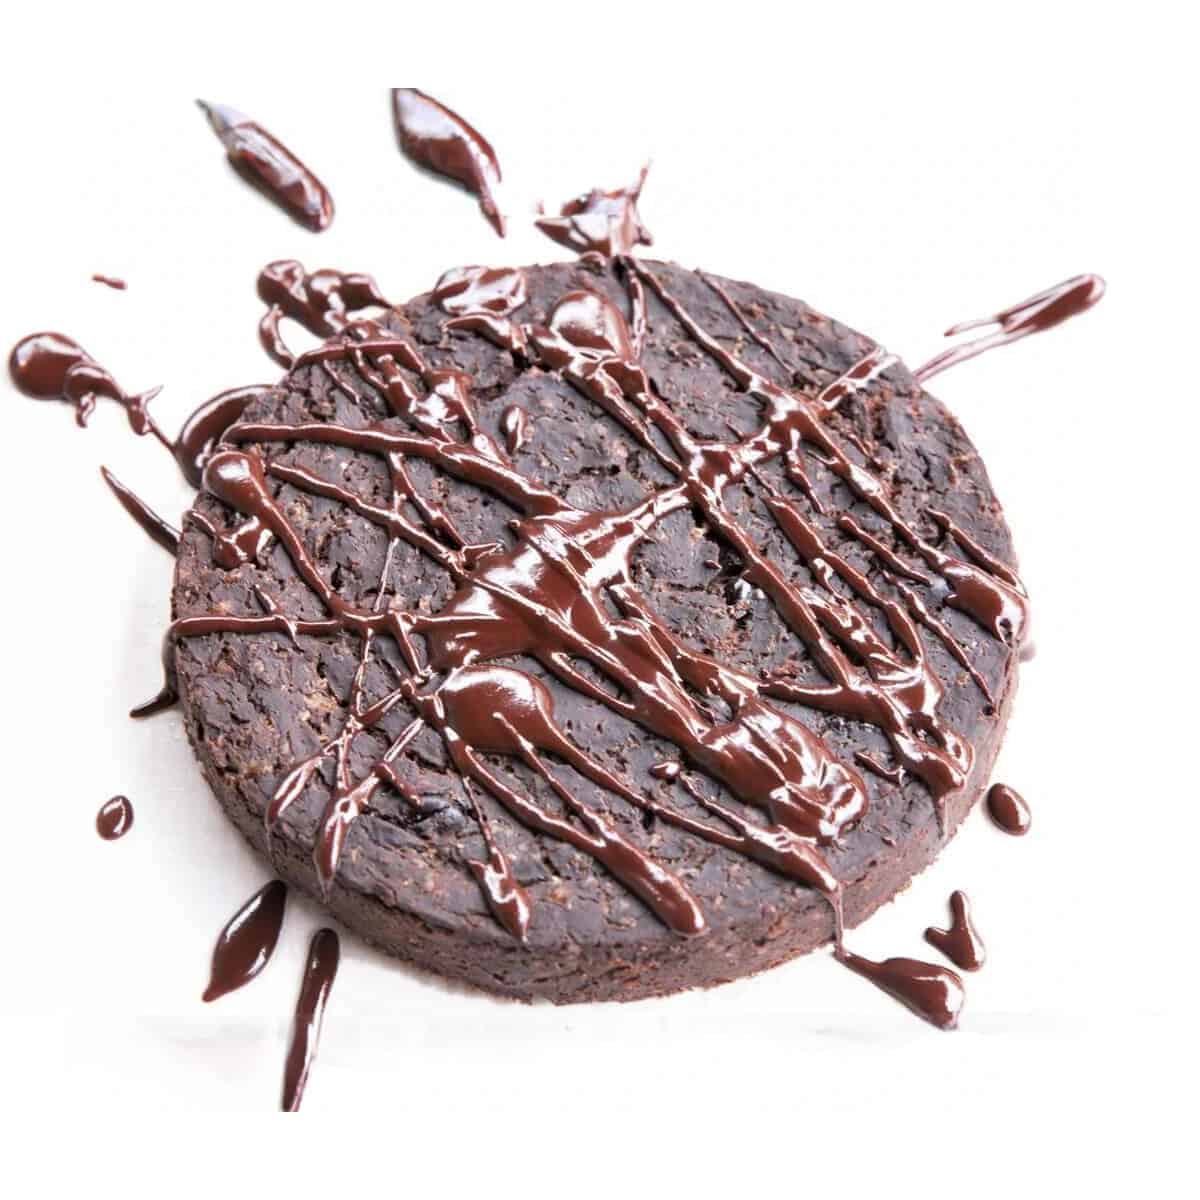
Making a flourless cake turned out to be a series of relatively simple steps but each required focus to execute them correctly. I was thrilled to see that the recipe required whipping egg whites into stiff peaks. After last weekend's meringue redemption I was all set to ace that part. The rest came together pretty easily. After baking for 30 minutes I pulled a lovely and fragrant cake out of the oven and felt quite proud.
I am most comfortable in the kitchen when I can toss in a pinch of this and a dash of that as I go along while not worrying much
about the process.
But I didn't like it.
I may have over-baked the cake a touch, because it came out crumbly, dry, and a little chalky. It also tasted sort of – flat. I wondered if it was salvageable and whipped up a yogurt topping that was pretty incredible on its own but not really enough to improve the overall experience. Mr. Second Helpings thought it was alright, but standing in the kitchen watching him taste it, I knew my cake adventure was only beginning.
The Weight Watchers recipe included matzo meal and I was pretty sure that was responsible for the texture issues. I also thought it was strange to have a starchy item in a flourless cake - it seemed contrary to the intention.
For the new version I traded the matzo meal for good quality greek yogurt, swapped out ¼ cup of white sugar for honey, and adjusted a couple other quantities. I wanted to play with a couple of flavor ideas, and at the last step I split my chocolate mixture into two bowls and divided the egg whites. This allowed me to fold orange juice and zest into one smaller cake and almond flavor into the other. After monitoring the baking step a little more closely, these new cakes were superb!
I really liked the yogurt topping from the first cake so I made two more versions that were complimentary to the new flavors.
The extra steps were well worth the time it took to try them. I was so much happier with my revamped version of the first recipe. These new cakes were more dense, with a creamy texture and rich velvety flavor. I was also pleased with how easy it was to split the cakes. The flavors came out so rich that a half serving is a deeply luxurious indulgence and it was fun to have two flavors.
The dark chocolate and almond cake was good especially with a scattering of toasted nuts on top but the real winner turned out to be the dark chocolate orange. The brightness of the orange zest and the rich depth of flavor from the juice concentrate complimented the 70% cocoa so perfectly I almost burst into song!
Yesterday afternoon I got to work on the final cake. I worked confidently and methodically, and when I pulled the beautifully baked cake from the oven I was very pleased with the result. I hope the auction attendees will be equally pleased to eat it.
Flourless Dark Chocolate Cake
Ingredients
- ¾ cup white sugar – seperated
- 4 ounces dark chocolate
- ¼ cup honey
- ½ cup + 3 TB unsweetened cocoa powder
- ⅓ cup water
- 2 egg yolk
- 2 teaspoons vanilla extract
- ½ cup greek yogurt fat-free, plain – thick & very low moisture variety, I used Fage
- 4 egg whites
- ¼ teaspoon cream of tarter
Instructions
- Preheat oven to 350 degrees F. Line the base of a 9 inch spring form pan with parchment and spray the inside with non-stick spray.
- Place a heat safe mixing bowl over a simmering water bath. Melt together ½ cup sugar, ¼ cup honey, chopped chocolate, cocoa, and water. Stir constantly until smooth. Remove the bowl from the heat and allow the mixture to cool slightly.
- In a small bowl whisk together yogurt, egg yolks, and vanilla extract so the mixture is slightly frothy and light yellow.
- In a new large mixing bowl, whip egg whites with cream of tarter to stiff peaks. Start at low speed and slowly increase speed as the whites thicken and become fluffier. Once the whites have reached the stiff peak stage mix in remaining ¼ cup of sugar about a tablespoon at a time.
- Mix egg yolk mixture into cooled chocolate mixture. Then using a rubber spatula begin gently folding the egg whites into the chocolate one scoop at a time. Fold slowly and lightly until egg whites are fully incorporated and batter is all one color.
- Turn the batter into the prepared pan and gently smooth the surface.
- Bake until the cake is puffy and the center is no longer liquid. Cake is finished when a few moist crumbs stick to a toothpick or cake probe, approximately 30 minutes. Do not over bake. Begin checking after 20 minutes in five minute intervals.
- Allow cake to cool completely in the pan. It will collapse slightly as it cools.
- Gently remove sides of the spring form and transfer to a cake plate or leave on pan base to serve.
- Simply dust with powdered sugar or top with yogurt frosting.
Notes
(Whisk into egg yolk mixture. May alter nutritional values provided.)
Dark Chocolate Orange Cake – 1 ½ TB Orange Juice Frozen Concentrate & 1 TB orange zest – finely diced
Almond – ½ tsp. almond extract & 1 TB toasted almond slivers – diced. Top cake with 1 TB additional diced toasted almonds
Hot Chocolate – 1 tsp. ground cinnamon
Cupcakes! Spoon finished batter into foil lined cupcake wrappers. Bake in a muffin tin for approximately 20 minutes.
Yogurt Glaze
- ½ cup. of plain Greek yogurt
- ½ tsp. of vanilla extract
- 3 TB powdered sugar
- Whisk together basic ingredients in a small bowl. Add any additional flavorings and stir to combine.
- Refrigerate for at least 1 hour up to overnight.
- Spread gently over cakes, cup cakes, or muffins.
- ¼ tsp. additional flavor extract, ie. almond
- ½ TB orange juice concentrate, 1 – 2 tsp. citrus zest
- 1 TB Nutella (reduce sugar to 2 TB)

Kathy Sitchin
Rose, I will definitely take your suggestion of trying this out for V-Day! Think it will work without a springboard pan? I just do not own one of those (as I recall you may not have either!)
ourladyofsecondhelpings
Great! I hope you love it!
Without a spring form I think this would work in a round cake pan that is fully lined with parchment. Get the parchment smooth on the bottom and flatten out the pleats up the sides. Trim the top so it folds down on itself less. Then grease or spray the parchment with non-stick spray - I use Pam Butter flavor. When it is completely cooled slide it out of the pan before removing the parchment. The parchment will give the edges that wrinkled effect I show in my photos.